Western Blot Protocol
Jan 13, 2025
1. Extraction of total tissue protein:
2.1 Wash the tissue 1-2 times with pre-cooled PBS, cut into small pieces and place in a grinding tube, add 3pcs, 3mm grinding beads, and add 10 times the tissue volume of lysis solution (for example: 100mg of tissue, add 1000ul of lysis solution liquid), set the grinding program for tissue grinding;
2.2 Take out the grinding tube after grinding and place it on ice or in fourth-degree lysis solution for 30 minutes;
2.3 Centrifuge at 12000 rpm, 4°C for 10 minutes, collect the supernatant, which is the total protein solution.
2. Protein concentration determination (optional): Determine the protein concentration as needed, take the undenatured protein solution, and use the BCA protein concentration determination kit to measure the protein concentration. For specific methods, refer to the kit instructions;
3. Protein denaturation:Add 5* reduced protein loading buffer to the protein solution at a ratio of 4:1, denature it in a metal bath at 95°C for 10 minutes, and store it in a -20°C or -80° refrigerator for later use;
4. Electrophoresis
4.1 Clean the glass plate;
4.2 Gel preparation and sample loading;
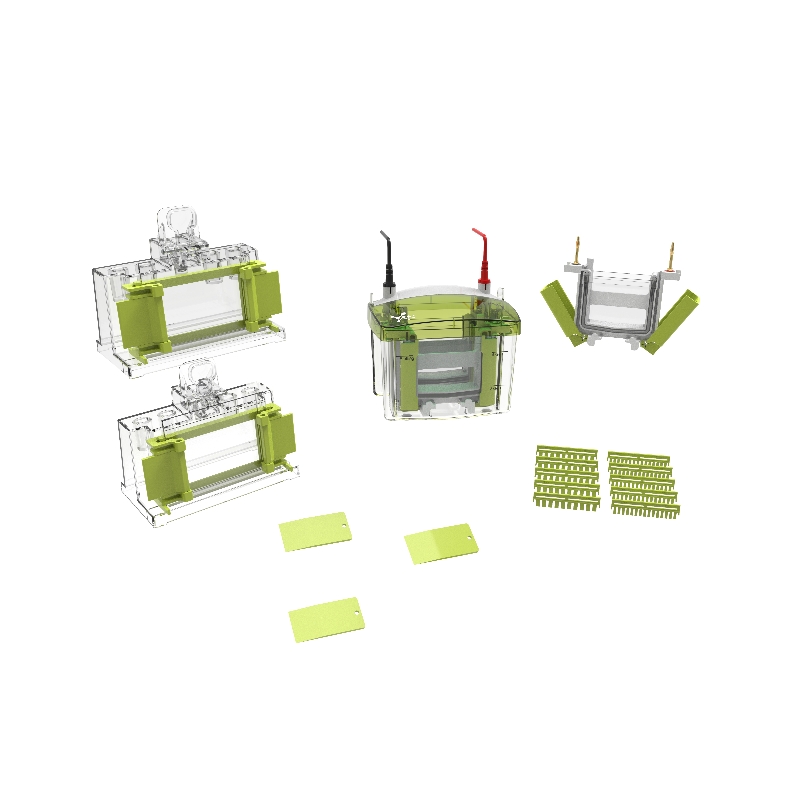
4.2.1 ①. First, move the clamping plates on both sides to the bottom, completely open the glands on both sides, insert the concave glass and flat glass from the top diagonally and place them to the bottom. The upper part of the glass is stuck in the slots on both sides;
②. Turn up the glands on both sides, pinch the left part of the gland with your hands at the same time, pull the left clamping plate upward, and lock it to the top; then pinch the right side of the gland at the same time, pull the right clamping plate upward, and lock it. to the highest;
③. After confirming that the electrophoresis glass is clamped and aligned, unscrew the knobs on both sides of the gel making base, then place the electrophoresis bracket into the middle of the gel making base and clamp it, then press the main body bracket with your hands and tighten the knobs on both sides until Rotate to the limit.
4.2.2 Select gel making kits of different concentrations according to experimental requirements, mix solutions A and B in equal proportions, and prepare lower gel solution and upper gel solution respectively. For glass plates of different specifications and thicknesses, the volumes of the upper glue and lower glue solutions can be adjusted in equal proportions. Taking the commonly used 8.3 cm × 7.3 cm gel plate (single piece) as an example, the recommended preparation system is as follows:;
Formulation group
Formulation
0.75 mm Glass Plate
1.0 mm Glass Plate
1.5 mm Glass Plate
Lower glue solution
10% Lower glue solution A
2 mL
2.5 mL
4 mL
10% Lower glue solution B
2 mL
2.5 mL
4 mL
AP
24 μL
30 μL
48 μL
Upper glue solution
Upper glue solution A
1 mL
1 mL
1.5 mL
Upper glue solution B(Red Color)
1 mL
1 mL
1.5 mL
AP
12 μL
12 μL
18 μL
4.2.3 After assembling the glue maker, first add the prepared lower glue solution, and then use pure water or ethanol to seal the lower glue surface. After the lower glue has fully solidified (about 10-15 minutes), discard the water or ethanol, and use filter paper to absorb the remaining liquid, then add the prepared upper glue solution, insert the comb, and wait for it to solidify (about 10-15 minutes) before use;
4.2.4 Remove the main body of the gel maker, carefully pull out the comb, and prepare to start electrophoresis;
5. After placing the main body of the gel maker into the electrophoresis tank, fill the inside with electrophoresis buffer and add 1/3 with the outside. Use a constant voltage of 200V for 30 minutes until the bromophenol blue is approximately 1cm away from the bottom. The electrophoresis is terminated and the electrophoresis is ready for transfer.
6. Transfer film
6.1 Prepare 6 pieces of 7×9cm transfer filter paper (thin) and 5×8cm PVDF membrane. The PVDF membrane must be activated with ethanol for 2 minutes before use;
6.2 Put the transfer clip, two sponges, filter paper and activated PVDF membrane in the container with transfer solution;
6.3 Spread the transfer folder, with red on the left and black on the right. Add a sponge and three pieces of filter paper to each side;
6.4 Carefully peel off the separation glue and place it on the filter paper (the glue is placed on the side of the black transfer clip). Use the transfer liquid to rinse the bubbles on the glue. Slowly stick the PVDF film to the glue. Be careful not to have any bubbles. Then stick the transfer film in turn. Membrane filter paper, transfer sponge;
6.5 Transfer conditions (wet transfer): Constant current, 300mA for half an hour.
7. Immune response
7.1 Place the transferred membrane into an incubation box containing TBST, rinse it quickly, then add 5ml of 5% skimmed milk, place it on a decolorizing shaker, and block at room temperature for 30 minutes;
7.2 According to the antibody instructions, dilute the primary antibody. After configuration, pour out the blocking solution in the incubation box, add the prepared primary antibody, and incubate at 4°C on a shaker overnight (shake the shaker slowly);
7.3 Recover the primary antibody, rinse the membrane quickly with TBST three times, then add TBST, place it on a destaining shaker for rapid elution, wash three times for 5 minutes each time;
7.4 Dilute the secondary antibody with TBST at a ratio of 1:5000, then add it to the incubation box, place it on a shaker and shake slowly, and incubate at room temperature for 30 minutes;
7.5 Rinse the membrane quickly with TBST three times, then add TBST, place it on a destaining shaker for rapid elution, wash three times for 5 minutes each time.
8. ChemiluminescenceMix ECL A and B solutions in a ratio of 1:1 and set aside. Take out the eluted PVDF membrane and place it on absorbent paper. Slightly absorb the liquid on the membrane and put the membrane into the mixed ECL. In the luminescent liquid, let the liquid completely immerse the membrane. After the reaction for 1 minute, take out the membrane and place it on the chemiluminescence instrument tray. Start chemiluminescence according to the preset program. After the exposure is completed, save the original image in TIFF format.
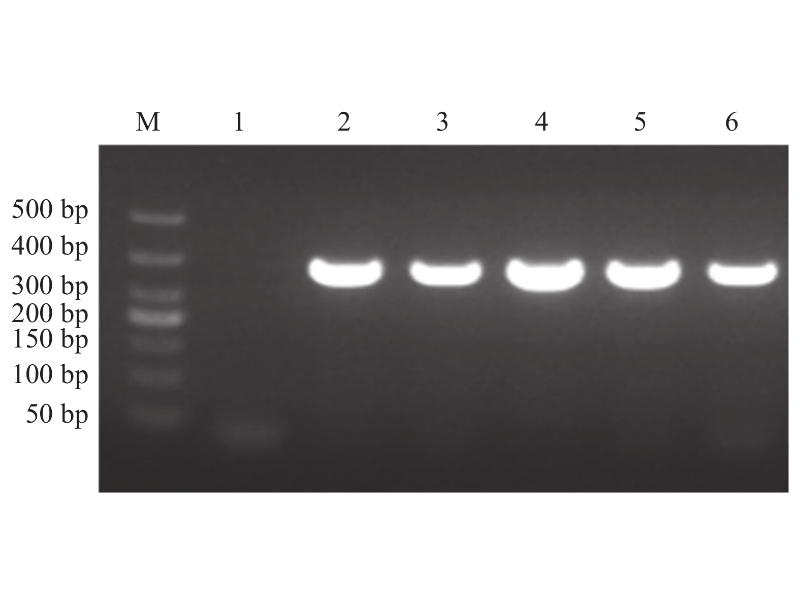
9. WB results and analysis


 Network Supported Xml / Privacy Policy